
7: Greenwich Village Maisonette renovation: Before & After
Introduction
After months of planning, design iterations, demolition surprises, permit hurdles and countless site meetings, we’re thrilled to unveil the completed Greenwich Village duplex renovation. This 1840s landmarked home has journeyed from a quirky layout with outdated systems to a harmonious blend of historic character and modern comforts; it’s truly a labour of love from the entire project team.
In this final post, we’ll celebrate the project’s transformation with before-and-after images, highlight our favourite design moments, and share takeaways for anyone embarking on a landmarked renovation in NYC.
Before & After Highlights
1. The Entry & Staircase


Photo by Kelly Marshall

Before: Worn finishes, uneven flooring, and hidden structural issues under 19th-century treads.
After: A restored Italianate staircase, refinished to accentuate the original wood’s patina. Subtle LED lighting adds modern safety without stealing the show.
Historic Preservation Note
We carefully stripped decades of paint from the bannisters, discovering beautiful hand-carved details. Using a stain matched to the original 19th-century colour palette, we preserved this piece of the home’s past.

Photo by Kelly Marshall
2. The Main Living Area
Before: Confusing layout, cramped ceilings, and mismatched baseboards from prior renovations.
After: An open yet cosy living room with unified finishes and brand-new crown moulding that echoes the property’s Greek Revival heritage.
Design Detail
Working with RKV Designs, we introduced a modern lighting plan featuring slim recessed fixtures and a few statement pendants over reading nooks achieving a balanced glow while respecting the historic ceiling lines.

3. The Kitchen

Photo by Kelly Marshall

Before: A cramped galley on the upper floor, limited countertop space, and outdated appliances.
After: Relocated to the lower floor for better access to the courtyard, the kitchen now boasts a Shaker-style cabinet design, hidden range hood, and vintage-inspired tile that bridges old and new.
Functional Gains
By moving the kitchen closer to the outdoor area, the client now has a seamless flow for entertaining; guests can wander from the kitchen island out to a small patio without bottlenecking a narrow doorway.
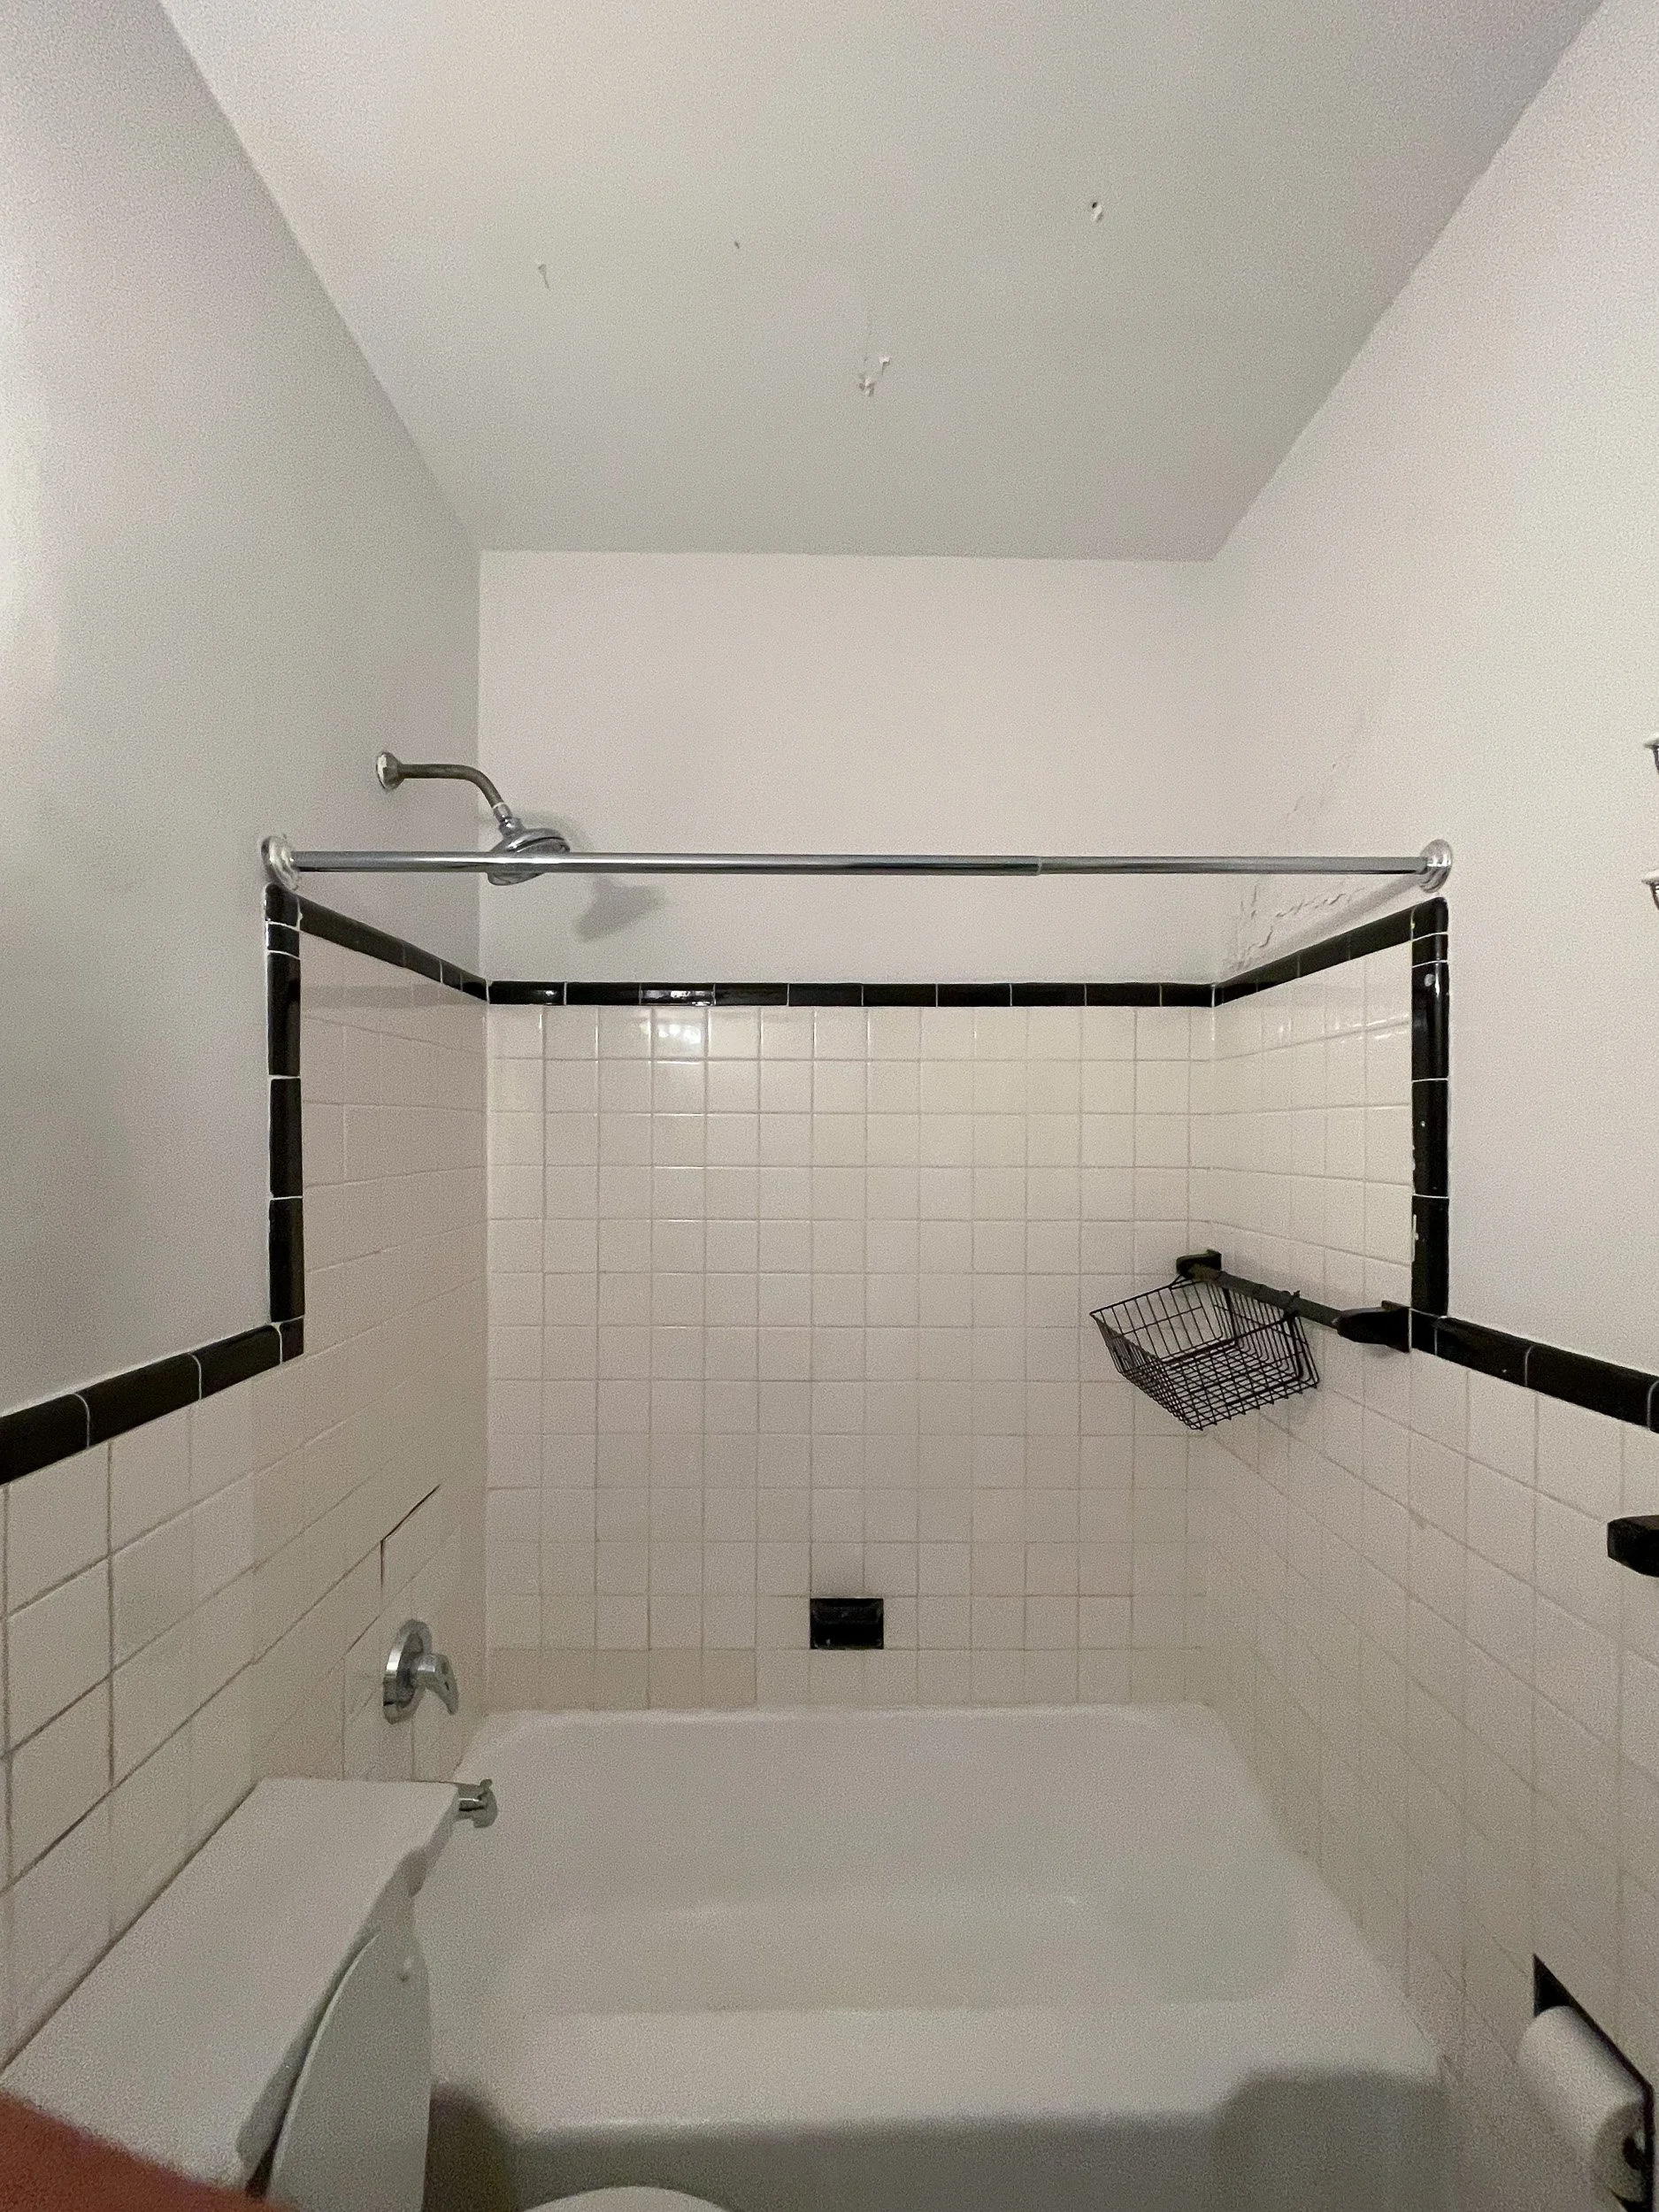
4. The Bathrooms

Photo by Kelly Marshall

Photo by Kelly Marshall

Photo by Kelly Marshall
Before: Slightly outdated fixtures, inconsistent tile work, and questionable water pressure.
After: Spa-like bathrooms featuring rain showerheads, contemporary tile with subtle nods to classic subway proportions, and improved plumbing to support multiple fixtures simultaneously.
Universal Design Touches
Behind the walls, we included blocking for future grab bars and selected lever handles that meet Aging-in-Place considerations, ensuring the space is both luxurious and future-ready.
5. The Murphy Bed / Guest Suite

Photo by Kelly Marshall

Before: A lower-floor living area that doubled as a part-time guest room.
After: A hidden Murphy bed elegantly integrated into custom millwork inspired by the Tudor windows. A remote-controlled mechanism ensures the bed disappears when not in use.
Millwork Magic
The custom cabinetry references leaded glass patterns and uses antique mirror accents to blend seamlessly with the home’s 1840s vibe, while still offering modern multi-functionality (desk, closet, hidden coffee station).

Photo by Kelly Marshall
Reflections & Lessons Learned
1. Pre-Design Pays Off
Our Matterport scans and careful research into landmark requirements saved us from nasty surprises mid-project.
2. Historic & Modern Can Coexist
By echoing original details (like the windows and moldings) in new elements, we respected the building’s architectural DNA while updating it for 21st-century living.
3. Time & Patience
With condo boards meeting monthly, LPC reviews, and inevitable DOB delays, building a realistic timeline (with buffers) was crucial.
4. Team Collaboration
From the architectural side to engineering, interior design, expediting, and contracting, open communication helped keep the project on track, especially during the unexpected.
5. Client’s Vision + Professional’s Expertise. Our client had a strong initial vision (thanks to RKV Designs), but stayed open to professional guidance for feasibility and preserving historic integrity.
Project Credits & Thank You!
Architecture & Project Lead: Havard Cooper Architect, PLLC
Interior Design: RKV Design, LP Creative
Structural Engineer: Martos Engineering
MEP Engineer: Tan Engineering
General Contractor: Structure NYC
Expeditor: -
Client: [Confidential]
Plaster Restoration: TBD
Flooring: Bates Flooring
Professional Photography: Kelly Marshall
Photoshoot Stylist: Elvis Maynard
We’d also like to thank the Condo Board and Landmarks Preservation Commission for their cooperation & ensuring the Greenwich Village heritage remains intact even as we modernize interiors for today’s needs.
Final Thoughts: Living in a Landmark
Renovating a landmarked property in Greenwich Village, or anywhere else in NYC, is about honouring the past while embracing contemporary life. This duplex now fuses 1840s bones with 2020s functionality, giving the owners the best of both worlds: timeless charm and modern convenience.
If this project has inspired you to tackle your own landmarked renovation (or any complex remodel), we hope this blog series helps you plan ahead, assemble the right team, and enjoy the transformative journey.