
3: Greenwich village maisonette: design development

Photograph of On-Site Table after demolition.
Design Development – Detailing the Vision
Once the schematic design was nailed down – we had agreed on the general layout and concept – we entered the Design Development phase. If Schematic Design is about “what if” and big ideas, Design Development is about making every decision concrete. It’s the granular stage where a line on a sketch becomes a specific wall with a defined thickness, a notion of “open kitchen shelving” becomes a detailed drawing of custom millwork, and every new beam, pipe, and wire finds its exact place.
In a landmarked 1840s building, Design Development is particularly intricate. Every design choice now had to be vetted for buildability, code compliance, and aesthetic harmony with the historic context. Essentially, we were bridging the gap between concept and construction. By the end of this phase, we would have a set of detailed drawings and specifications that could be taken to the building department for a permit and to contractors for final pricing.
Let’s dive into some key aspects of what Design Development involved for this historic duplex renovation:
Refining the Layout & Circulation
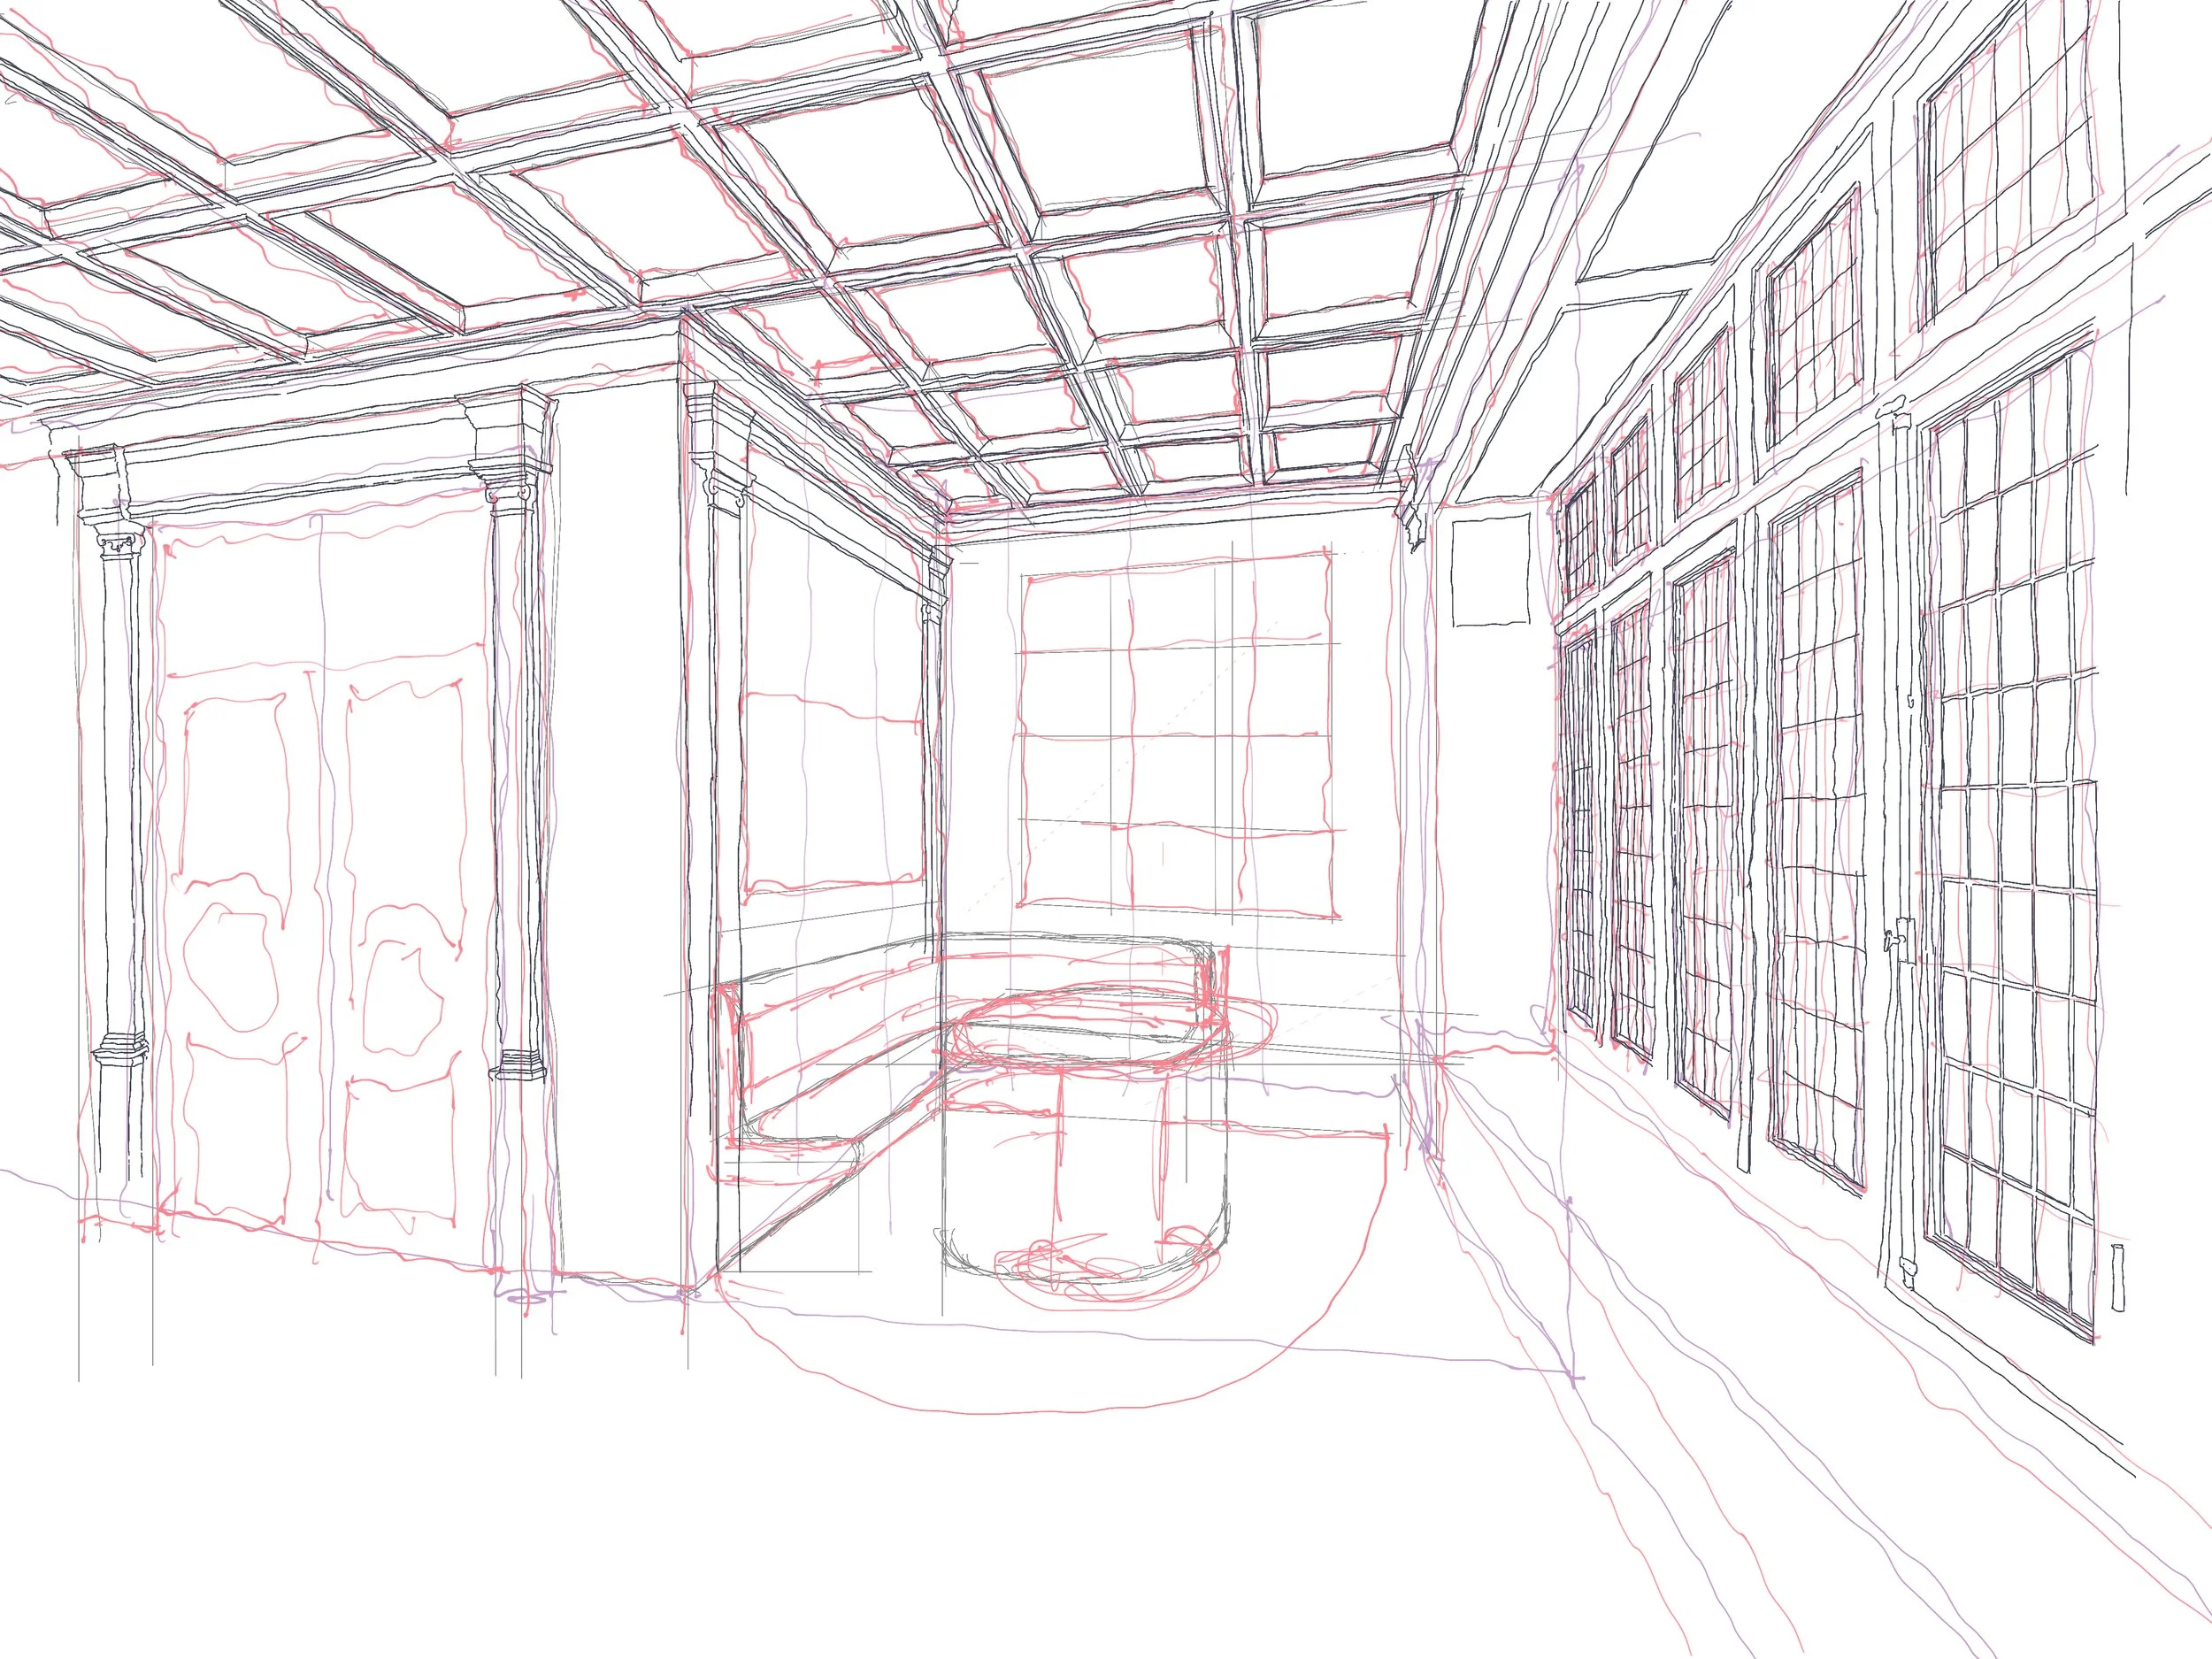
From Sketch to CAD to 3D Modeling
We began by finalizing the general layout and ensuring that how people move through the space (the circulation) was smooth and logical. During schematic design we had a preferred layout (our Option B). Now we locked it in and fine-tuned it:
From Sketches to Detailed Plans: We transitioned from rough sketches to precise drawings. This included:
Finalizing Wall Locations: We decided exactly which walls were being removed, which new ones built, and the precise dimensions. For instance, the new home office wall that was roughly placed in Schematic now was drawn to exact measurements (accounting for shelving thickness on one side and a pocket door cavity on the other side, etc.). We also confirmed the placement of doors and cased openings so that they aligned with sightlines or centered on windows as intended.
Detailed CAD Drawings and 3D Model: We produced a detailed CAD (Computer-Aided Design) plan of the home. In fact, we utilized a BIM (Building Information Modeling) 3D model for critical areas. This allowed us to see in three dimensions how the new work interacted with the old. For example, we modeled the main stair and surrounding new partitions to ensure headroom was ample and that the handrail height still met code where it joined the new guardrail at the top landing.
Ensuring Real-World Function: We double-checked things like clearances for walking paths, door swings, and furniture layouts. We didn’t want any “pinch points.” One particular area of focus was the entry foyer – we wanted space for an entry console and a bench, so we adjusted a closet depth slightly to widen the passage by the front door. In the master suite, we made sure that a wheelchair (should one ever be needed) could maneuver into the bathroom and closet – this meant verifying a 5-foot turning radius in key spots and the ability to install a future lift or ramp if necessary.
By the end of this refinement, the plans were dimensionally fixed. We had effectively “frozen” the layout (barring any new surprises from engineering) so that everyone – client, design team, consultants – knew this is the configuration we are building. This step is crucial because it provides a stable framework onto which we can now layer all the details.
Key goal achieved: We verified that the final circulation patterns worked beautifully in real life. No unexpected dead-ends, no awkward door conflicts, and a logical flow from space to space. A person entering the apartment could intuitively find their way to the living room or up the stairs; moving heavy furniture around corners was planned for; and we even considered how air would circulate, making sure no rooms were left without ventilation or access to natural light.
Balancing Historic Preservation with Modern Performance
One of the biggest balancing acts was honoring the 19th-century bones of the duplex while ensuring it meets 21st-century standards for safety, comfort, and efficiency.
Millwork & Molding Details
Much of the home’s charm came from its mouldings, trims, and built-in woodwork. We wanted any new additions to blend seamlessly with the old, and any restored elements to shine. Our tasks included:
Documenting Historic Profiles: We went through the house and catalogued the profiles of original baseboards, crown mouldings, door and window casings, and the staircase details. We took profiles (tracings and measurements) of these so we could replicate them exactly if needed. For instance, in areas where we were adding new wall, we planned to extend the same style of crown molding into that space. We actually drew cross-section details of these profiles in our drawings, which would later be given to plaster fabricators, they made a mould of the existing and cast a new cornice to match exactly what was there before.
Designing New Built-Ins: The renovation included custom cabinetry (for the kitchen, bathrooms, a media unit in the living room, and of course the special Murphy bed unit downstairs). We worked closely with RKV Design to specify these. The design language for the new millwork was inspired by the old but not a fake copy. For example, the new kitchen cabinets are Shaker style (simple recessed panels) – a timeless choice that complements Greek Revival-era simplicity – and we added a subtle trim detail that echoed a line in the home’s door casings. In the living room, the new bookcase built-ins had a cornice that aligned with the room’s crown molding. These touches ensured a cohesive design language throughout.
Material Selection for Millwork: We chose high-quality materials that would hold up and also suit the historic vibe. In some cases, we opted for reclaimed wood for accent panels – this gave an authentic patina and character that brand new wood wouldn’t. Where we used new wood or MDF (like for painted cabinets), we made sure the finishes were historically sympathetic (e.g., a slightly off-white paint with a hand-brushed finish to mimic how old paint would appear, rather than a super high-gloss sprayed finish).
By the end of DD, our drawings included a millwork package: detailed drawings for each significant built-in piece and all the trim. This way, nothing was left to guesswork in the field. The contractor’s millwork shop could build pieces true to our design, and we’d achieve that old-world charm through new craftsmanship.

Modernizing Systems (NYC Energy Code & Comfort Upgrades)
Historic homes weren’t built with modern energy codes or HVAC systems in mind. Part of our task was to sensitively upgrade these aspects without undermining the building’s character:
Heating and Cooling: Originally, the apartment had some clunky through-wall AC units and old cast-iron radiators. We decided to integrate a modern HVAC system: a ducted split system that could provide both cooling and supplemental heating. The trick was routing ducts in a building with no existing ductwork chases. We coordinated with the MEP engineer to run slim ducts in dropped ceiling areas of hallways and inside the guest suite cabinetry, where possible. We drew reflected ceiling plans showing where we’d have soffits or dropped beams enclosing ducts. Importantly, we placed these so as not to interfere with historic tall windows or ornate ceiling medallions. Each room got discreet linear air vents near the ceiling, which we aligned with architectural lines (e.g., centred on doorways or symmetrically placed in niches) to make them as inconspicuous as possible.
Insulation and Air Sealing: The brick walls of the duplex had no insulation (common for 19th-century construction). We specified adding insulation when we opened up walls (especially on exterior walls for window work or adding outlets). We chose a non-invasive approach: a combination of rigid insulation boards and spray foam in select cavities where allowed, focusing on the roof and basement ceiling (to improve envelope performance). We also detailed how to seal gaps around windows and at floor edges to cut down on drafts. The New York City Energy Conservation Code (NYCECC) sets certain requirements, but we had some leeway because this was a historic building. Still, we voluntarily improved insulation where we could without harming the historic fabric.
Window Upgrades: The windows were a big item. Landmark rules often allow you to either restore existing windows or replace them with approved replicas. We had a mix: some original wood windows at the front (which we chose to restore and weather-strip for efficiency) and some later aluminium windows at the back (which we proposed to replace with new insulated-glass wood windows that matched the look of the originals). We worked on drawings to submit to LPC showing the new window profiles and detailing how they’d look identical (or very close) to the 19th-century ones, just with double-pane glass. This gave us better thermal performance without altering the building’s appearance.
Lighting and Electrical: We replaced the electrical system for safety and code compliance. We doubled the number of electrical circuits to accommodate modern loads (kitchen appliances, home office equipment, etc.). We also integrated LED lighting throughout for energy efficiency. Yet, we were careful with placement: for example, instead of Swiss-cheesing the historic plaster ceiling with lots of recessed lights, we used fewer, strategically located fixtures and supplemented with decorative fixtures. We plotted out these lighting points on plans and ran them by the client. Also, to minimise wall damage, we tried to reuse some existing conduit paths and wall channels for new wiring (especially in landmarked interiors, you prefer not to chisel out large areas of original plaster if you can avoid it).
All these system upgrades were drawn into our plans and schematics. By the end of Design Development, we had heating/cooling layouts, electrical plans showing every outlet, switch and fixture (even specifying antique-style toggle light switches in public areas to be in character), and plumbing plans that included new piping routes and any required pumps or heaters. Essentially, we married the old and new at a technical level on paper, so that in construction, it could be executed smoothly.
Detailed Code & Permit Prep
Parallel to designing the details, we were also preparing for the next step: submitting for permits and Landmark approvals. That meant ensuring our design met all relevant codes and regulations. Some highlights:
NYC Building Code (DOB) Compliance: We revisited egress and life safety aspects now that layouts were firm. We confirmed that from every bedroom you could get to the street in the required number of feet (the travel distance was well within limits given two exit paths – one via the main stair to the front door, another through the back door to the courtyard and then outside). We checked the placement of the smoke alarm and added hard-wired smoke/CO detectors in each required location on our electrical plans (the building code now requires interconnected detectors in renovation projects like this). We also detailed out the stair geometry – the old staircase had slightly uneven risers; we designed the necessary adjustments (a bit of subfloor build-up here, a trim there) to ensure uniform 7-inch risers and 11-inch treads, thus meeting code without rebuilding the entire stair.
Fire Protection: The building had a sprinkler system in the public hall and basement, but not inside units (common in older residential buildings). However, due to the level of renovation and some code triggers, we decided to voluntarily add a sprinkler to certain high-risk areas, like in the new open kitchen and at the top of the stairwell (even if not strictly required, it’s a good safety upgrade and often looked kindly upon by DOB). We coordinated with a fire protection engineer on a sprinkler head layout, which we added to our plans, ensuring they were tucked up near beams or within new ceilings to avoid an eyesore. We also specified using decorative cover plates for sprinklers on finished ceilings so they’d blend (they can be ordered in custom colours to match paint).
Accessibility and Other Codes: We fine-tuned details for future adaptability (as discussed, blocking in walls, etc.), and we also ensured that at least the powder room on the main floor could accommodate someone with limited mobility (it’s not fully ADA, but we made it as generous as possible). We drew the required clear floor spaces for fixtures in the plans to verify. Additionally, we complied with the latest electrical code in terms of outlet spacing, GFCI outlets in wet areas, and AFCI breakers for circuits – all those notes made it into the drawings to guide the electrician.
Landmarks Submission Prep: We knew we’d have to submit a package to the Landmarks Preservation Commission detailing any exterior or significant interior changes. We prepared detailed elevation drawings of the facade showing the before-and-after of window replacements (with callouts that “new wood window to match original profile, double-glazed, 6-over-6 true divided light” etc.). We also created a document with photographs of existing conditions and our proposed materials (like a sample of the new brick we’d use to fill an old AC sleeve, or the profile of a new light fixture for the entryway). In design development, we often create these drawings and exhibits so that we can submit them quickly once we’re in the construction documents phase.
By focusing on these in DD, we essentially did a mini permit review internally. That way, by the time we produce official construction documents, they will be code-compliant and ready for the city’s eyes, and we won’t face major revisions later.
Material & Finish Selections

Click image to see Pinterest Board.
While structural beams and plumbing lines were being sorted out, Design Development is also when the project starts to come alive visually. We worked with the client and interior designer to choose materials and finishes that would define the look and feel of the renovated home. Here’s a breakdown of some key finish decisions:
Flooring: The duplex had a mix of flooring – some rooms had original hardwood (albeit in rough shape), others had newer oak that didn’t match, and some tile in the kitchen that was not worth saving. We decided to unify the flooring throughout. The plan was to restore and refinish the original pine flooring on the upper level (sanding it down and staining it a warm medium-brown that brings out its character), and to install new wood flooring on the lower level to match that look. We sourced reclaimed wood planks for the lower level so that the grain and texture would be similar to old wood upstairs. In wet areas like bathrooms, we selected classic marble tile in a honed finish (less slippery and period-appropriate) with underfloor heating for comfort.
Wall & Ceiling Treatments: Most walls would simply be painted plaster. We picked a palette of soft, historically sympathetic colors – think off-whites, pale gray-greens, and warm beiges – rather than stark ultra-white or very trendy dark colors. This palette was inspired by historic Victorian colors but toned down for a modern sensibility. In some feature areas, we added special treatments: for example, we decided to install a wallpaper with a subtle vintage pattern in the powder room (the client loved a hand-printed design that had a 19th-century botanical feel). Ceilings we kept mostly white but in the dining room we contemplated (and later did) a very light blue tint, a nod to the old tradition of “haint blue” porch ceilings in historic homes (which also helped highlight the new ceiling medallion we were adding around a chandelier).
Kitchen Cabinets & Counters: We worked out the kitchen design in detail. The cabinet style, as mentioned, was a Shaker panel painted in a rich ivory color. We visited a kitchen showroom with the client (and brought along trim samples from the house to compare tones). The countertops the client fell in love with were honed Carrara marble – a classic choice that complements historic homes. We did warn about its tendency to patina (etch) with acids, but they were fine with that, preferring authenticity over the perfect look of quartz. We drew the cabinet elevations and made sure to include charming details like glass-fronted upper cabinets to display some dishware (with mullions that subtly echoed the Tudor window patterns) and a custom paneled range hood that looks like part of the cabinetry. For hardware, we chose unlacquered brass pulls and knobs, which will age naturally and look like they’ve been there for a century.
Bathrooms Fixtures & Finishes: Each bathroom got a distinct but related design. In the primary bath, we chose a classic white marble tile in a basket-weave pattern for the floor (with tiny black dot accents – very much in line with early 20th-century designs, a little later than the house but timeless). Walls would have white subway tile wainscoting and paint above. We specified polished nickel fixtures (which have a warmer, more old-world tone than chrome) for faucets and shower fittings – these also tie to historic styles as many original fixtures in old NYC apartments were nickel. A standout element was the clawfoot tub we decided on for the primary bath: a nod to historical luxury, but we got a modern reproduction with all the modern plumbing trappings. The secondary bath and powder room got their own personalities (the powder room got that wallpaper and a petite console sink with exposed pipes in brass; the guest bath received a mix of marble and ceramic tiles for durability).
Lighting & Decorative Fixtures: We made a comprehensive lighting plan. In living areas, we aimed for layered lighting: some recessed lights (minimal), supplemented by decorative fixtures and lamps. We hunted for a period-appropriate antique chandelier for the dining room – and actually found one at an architectural salvage shop that we decided to purchase and refurbish. It’s a brass 12-light chandelier from the 1920s that fits beautifully. In the foyer, we chose a new pendant lantern that has a vintage gaslight look. Bathrooms got elegant sconce lights beside mirrors, again in polished nickel or brass. All lighting was planned to be on dimmers for mood flexibility. We also integrated some discreet LED strip lighting in places: for example, under the railing of the staircase and under kitchen cabinets, to provide gentle illumination that doesn’t scream “modern”.
We documented all these decisions in what we call a Finish Schedule and Specifications. By the end of Design Development, we had not only drawings but also a written narrative or schedule listing: paint colors by room, flooring materials, tile selections with sizes and patterns, plumbing fixture models, appliance models, light fixture make/model or description, hardware finishes, etc. This document would guide the next phase and also ensure everyone (client, contractor bidders, etc.) were literally “on the same page” about what goes into the house.
Specifications at the end of Design Development, one of two major components of this phase.
Collaborative Reviews & Mockups
Design Development wasn’t happening in isolation at a desk – it was a dynamic, collaborative effort requiring continuous communication with both the client side and our consultant team:
Client & Designer Workshops: We regularly met with the homeowners and RKV Design to review progress. These often took the form of a design presentation in our office or via video call, going through updated drawings and material boards. For instance, once we had our kitchen design drafted, we hosted a meeting specifically to review the kitchen: we showed 3D renderings of the proposed design, laid out sample door fronts, countertop stone, and even a sample of the floor wood for them to see everything together. The clients gave feedback (like preferring the slightly darker stain option for the wood, and loving the cabinet design but requesting an appliance garage to hide their coffee machine – which we then incorporated). We noted all preferences and changes, and updated the drawings accordingly.
Engineering Coordination Meetings: We didn’t wait until construction documents to loop in our structural and MEP engineers. We had interim coordination meetings during Design Development where we’d trade drawings and ideas. In one such meeting, we walked our structural engineer through our plan for enlarging the opening between the living and dining rooms. He then ran some calculations and got back to us with the size of the beam required and its depth. We realized that depth would protrude below the ceiling a bit, so together we strategized to turn it into a coffer detail – this way it blends architecturally. Another coordination point was with the MEP team on duct routing: we all gathered around the model to find the best path for a new fresh air intake for the HVAC without disturbing an old floor joist. These real-time problem-solving sessions ensured the engineering solutions integrated elegantly into our design.
Condo Board’s Architect: Because this was a condo, the board had their own consulting architect to review plans. We decided to engage with him proactively. We shared our design development drawings informally once they were about 80% done, to get his take. He pointed out a couple of things – for example, he reminded us that the building required sound attenuation in the floor buildup for any new wood flooring (a common NYC condo rule to reduce noise between units). We had planned that anyway, but we made sure to explicitly note the soundproofing in our drawings and specs (specifically, a product that provides an IIC rating to meet condo requirements). He also appreciated seeing our detailed logistics plan (which included how we’d protect the common areas), which we had started drafting for board approval. Early input meant that when we later formally submitted to the board, they had already seen and subtly influenced the plans, making approval more of a formality.
Physical Mockups and Samples: Where possible, we created physical samples to review and get sign-off on. For instance, the custom crown molding we wanted to run through new areas – we had a small sample piece fabricated by a millwork shop using our drawing, and we looked at it in the actual space next to the original molding. Seeing it in person, we and the client could confirm it was a great match in profile and scale (or if not, we’d adjust). We did a mock-up of the new LED cove lighting detail by temporarily installing a strip in the stair cove to see the effect at night – it helped us decide on the right warmth (2700K color temperature LED) and brightness. We even tested paint colors on large foam-core boards, moving them around the rooms to see them in different light. This hands-on approach in DD helps avoid “I don’t like it” moments when things are built. It’s always easier and cheaper to change direction or tweak a design when it’s on paper or a sample, not after it’s built.
By the end of Design Development, the project had truly taken shape. We had an extensively detailed design that everyone had contributed to – the architects, the interior designers, the engineers, the client, even input from the board’s perspective. The client knew exactly what to expect, down to doorknob styles and tile layouts. And we knew that our design was technically sound and ready to be translated into the formal construction documents.

Mini-Checklist: Design Development
-
Lock in the floor plan and circulation. Double-check that furniture layouts, door swings, and clearances all work. Resolve any remaining layout questions now, since changes later can ripple through many detailed drawings.
-
dentify all structural elements (beams, columns, load-bearing walls) that will be added or modified. Work with the structural engineer to size beams/headers and incorporate those into the plans and sections. If any structural solution creates a visual change (like a needed soffit or column), update the architectural design to integrate it (turn it into a decorative column or a built-in, etc.).
-
Lay out routes for ducts, pipes, and major conduits. Ensure there’s space for these in ceilings, walls, or chases. If something needs to be hidden (water heater, HVAC unit), design a closet or cabinet for it and include access panels as needed. Mark locations for thermostats, electrical panels, and other equipment in the plans. No one likes a surprise electrical panel in the middle of a beautiful foyer wall – so plan ahead to tuck it in a closet or inconspicuous spot.
-
Perform a thorough code review now that plans are detailed. Check egress paths, fire ratings of new walls (if required), stair dimensions, railing heights, smoke/CO detector placement, bathroom ventilation, ceiling height in all rooms, etc. Update drawings to show any required fire-rated assemblies or other code-required details. It’s easier to adjust designs now than later under permit scrutiny.
-
Develop a finish schedule listing every finish (flooring, wall, ceiling) and key fixtures (plumbing, lighting, appliances). Get client sign-off on these selections. Where choices are not finalized, list options and deadlines for final decision. (For instance, if the client hasn’t decided between two countertop materials, note that and the date by which order lead times necessitate a final call.)
-
It’s wise at the end of DD to refresh the project budget estimate. We often work with a cost estimator or get a contractor’s opinion at this stage. We plug in the specific materials and quantities now known. This ensures the project is still on budget before going into Construction Documents (CDs). If it’s over, DD is the time to do some value engineering while designs are still flexible. In our case, we were tracking well by keeping the client in the loop of costs of finishes as we chose them.
-
Hold a Design Development sign-off meeting. Walk the client through the entire design – often using drawings, maybe a 3D model, and physical samples. This is the time to confirm, “This is exactly what we’re building. Do you love it? Are you comfortable with the direction and details?” Get formal approval to proceed to Construction Documents. It’s also a good milestone to present to the condo board informally, as we did, to pre-empt any issues.
-
Create a list of any remaining questions to be answered in Construction Documents. Sometimes a few straggler decisions might remain (e.g., finalizing a light fixture selection). Make a plan for resolving those early in CD phase. Also, outline the drawings that will be needed for the CD set (start drawing up the sheet list) so you can hit the ground running.
Next Up: Construction Documents
With Design Development signed off, we were ready for the heavy lifting of Construction Documents – turning all these decisions into the precise instructions that builders and regulators demand. At this point, the project felt real and tangible, and everyone was eager to see it move forward into permits and then breaking ground.